둘째마당 02
레이아웃
제약 레이아웃 (ConstraintLayout)
: 제약조건 기반 모델
- 제약조건 사용하여 화면 구성
- 안드로이드 스튜디오에서 자동 설정하는 default layout필수 속성
- layout_width, layout_height
- 연결점 통해 다른 뷰의 높이와 맞출 수 있음
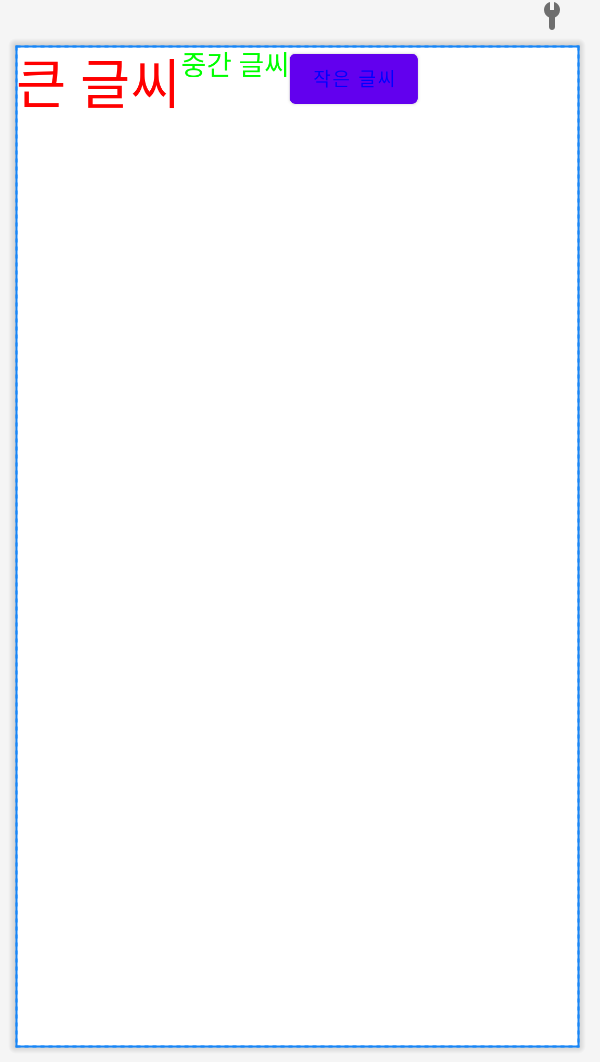
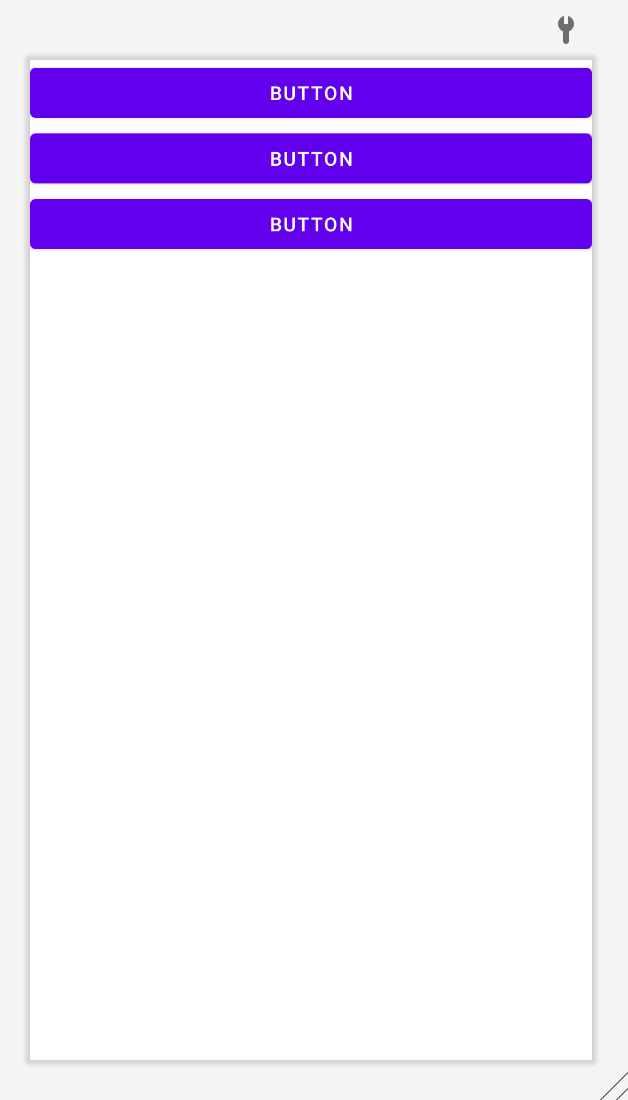
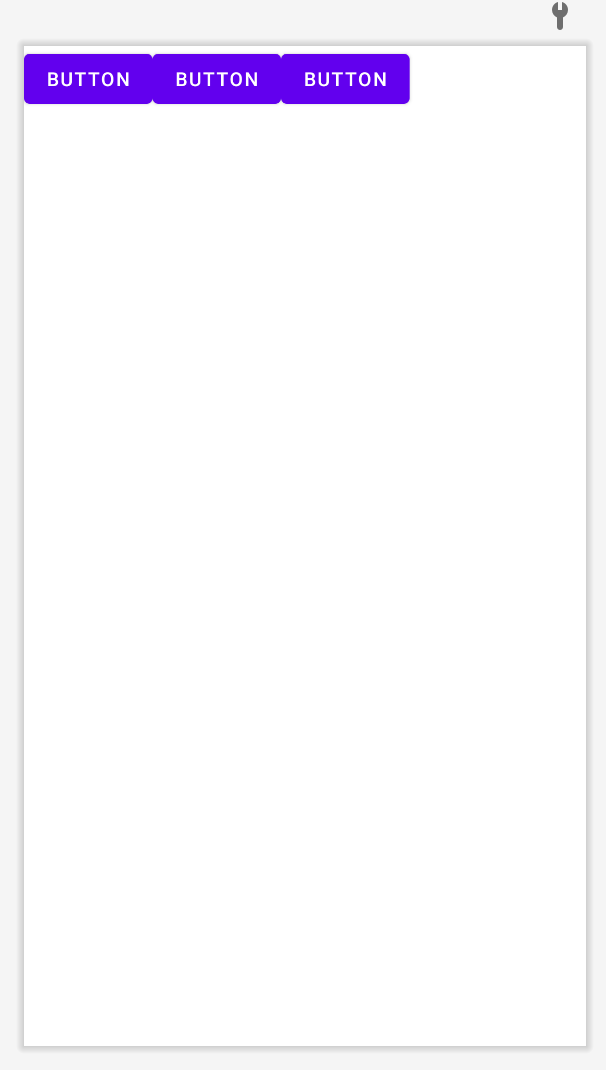
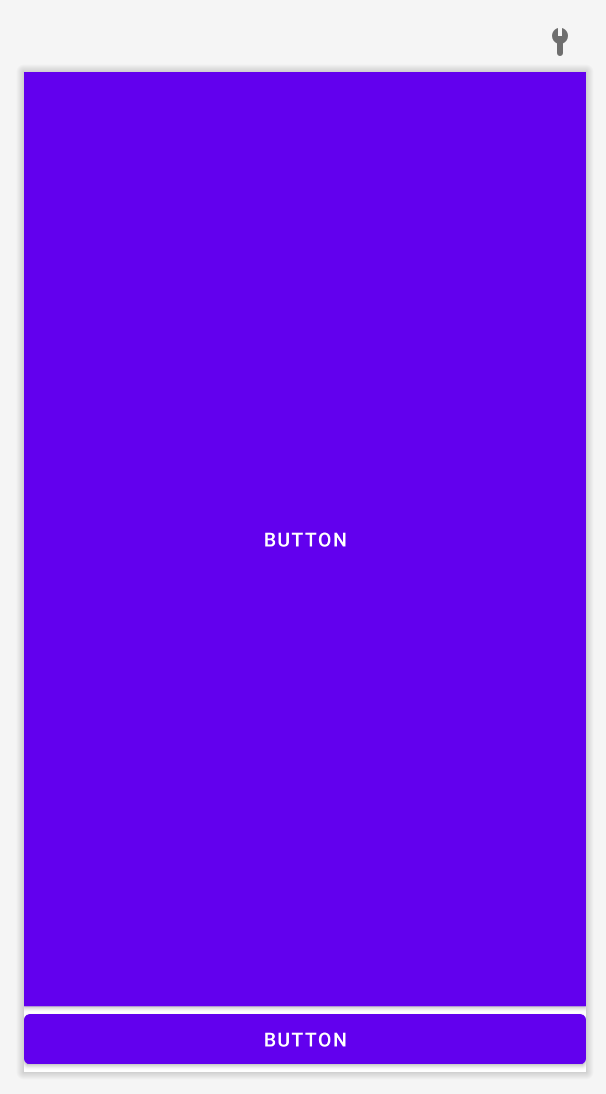
리니어 레이아웃 (LinearLayout)
: Box Model
상대 레이아웃 (RelativeLayout)
: Rule 기반 모델
필수 속성
- layout_width, layout_height속성
- 부모 컨테이너와의 상대 위치 이용하여 뷰 배치
- layout_alignParentTop: 부모 컨테이너 위 - 뷰 위
- layout_alignParentBottom: 부모 컨테이너 아래 - 뷰 아래
- layout_alignParentLeft: 부모 컨테이너 왼쪽 - 뷰 왼쪽
- layout_alignParentRight: 부모 컨테이너 오른쪽 - 뷰 오른쪽
- layout_centerHorizontal: 부모 컨테이너 수평 중앙
- layout_centerVertical: 부모 컨테이너 수직 중앙
- layout_centerInParent: 부모 컨테이너 수평과 수직 중앙
- 다른 뷰와의 상대 위치 이용하여 뷰 배치
- layout_above: 뷰 위쪽 배치
- layout_below: 뷰 아래쪽 배치
- layout_toLeftOf: 뷰 왼쪽 배치
- layout_toRightOf: 뷰 왼쪽 배치
- layout_alignTop: 뷰 위와 맞춤
- layout_alignBottom: 뷰 아래와 맞춤
- layout_alignLeft: 뷰 왼쪽과 맞춤
- layout_alignRight: 뷰 오른쪽과 맞춤
- layout_alignBaseline: 내용물 아래쪽 기준선 맞춤
프레임 레이아웃 (FrameLayout)
: Single Model
테이블 레이아웃 (TableLayout)
: Grid Model
- 격자 모양 배열 사용하여 화면 구성
- 많이 사용하지 않음
- LinearLayout으로 설정하고 Layouts>TableLayout, Layouts>TableRow(5개 한꺼번에 추가됨)
<LinearLayout ...>
	<TableLayout
    	android:layout_width="match_parent"
        android:layout_height="match_parent">
        <TableRow
        	android:layout_width="match_parent"
	        android:layout_height="match_parent">
            <Button
            	android:id="@+id/button"
            	android:layout_width="wrap_content"
                android:layout_height="wrap_content"
                android:text="Button"/>
		</TableRow>
        <TableRow>
        	...
		</TableRow>
	</TableLayout>
</LinearLayout>
- TableRow내에 뷰 추가했을 때 남는 공간 생김
필수 속성
- layout_width, layout_height속성
- layout_column: <TableLayout> 태그 내 추가되며, 순서 설정 가능
- layout_span: <TableLayout> 태그 내 지정하는 속성, 뷰가 몇 개의 column 차지하게 할 것인지 숫자로 지정
스크롤뷰 (ScrollView)
- 어떤 뷰의 내용물이 넘치면 자동으로 스크롤 생성; default는 수직 방향
    <LinearLayout xmlns:android="http://schemas.android.com/apk/res/android" ... >
        <HorizontalScrollView
            android:id="@+id/horScrollView"
            android:layout_width="match_parent"
            android:layout_height="match_parent">
            <ScrollView
                android:id="@+id/scrollView"
                android:layout_width="match_parent"
                android:layout_height="match_parent">
                <ImageView
                    android:id="@+id/imageView"
                    android:layout_width="wrap_content"
                    android:layout_height="wrap_content"/>
            </ScrollView>
        </HorizontalScrollView>
    </LinearLayout>
- 스크롤바 보이는 유무 설정
scrollView.setHorizontalScrollBarEnabled(true);
필수 속성
- layout_width, layout_height
뷰 영역
테두리 (border)
뷰의 영역 (box)
Margin: border와 box간 공간
- 속성
- layout_margin
- layout_marginTop
- layout_marginBottom
- layout_marginLeft
- layout_marginRight
Padding: content와 border 간 공간
- 속성
- padding
- paddingTop
- paddingBottom
- paddingLeft
- paddingRight
padding 혹은 layout_margin 속성 설정 시 여유공간 부족하다면, 레이아웃 형태 달라질 수 있음
자바 코드에서 화면 구성
액티비티: 하나의 화면
- 메인 액티비티: 앱 실행 시 처음 보이는 화면(MainActivity.java)
public class LayoutCodeActivity extends AppCompatActivity {

    @Override
    protected void onCreate(Bundle savedInstanceState) {
        super.onCreate(savedInstanceState);

        LinearLayout mainLayout = new LinearLayout(this);
        mainLayout.setOrientation(LinearLayout.VERTICAL);

        LinearLayout.LayoutParams params
                = new LinearLayout.LayoutParams(
                        LinearLayout.LayoutParams.MATCH_PARENT,
                        LinearLayout.LayoutParams.WRAP_CONTENT
                );

        Button button1 = new Button(this);
        button1.setText("Button1");
        button1.setLayoutParams(params);
        mainLayout.addView(button1);

        setContentView(mainLayout);
    }
}
- 메인 액티비티 변경 시 app>manifests>AndroidManifest.xml 내 activity태그 수정
  <activity android:name=".LayoutCodeAcitivity">
      ...
  </activity>
화면 생성 과정
- onCreate() 메소드 내 setContentView() 메소드의 파라미터 통해 레이아웃 화면에 표시
- 파라미터를 레이아웃으로 정의된 리소스 가리키도록 설정
  protected void onCreate(Bundle savedInstanceState) {
      super.onCreate(savedInstanceState);
      setContentView(R.layout.activity_main);
  }
- 파라미터를 레이아웃 객체 가리키도록 설정
  protected void onCreate(Bundle savedInstanceState) {
      LinearLayout mainLayout = new LinearLayout(this);
      ...
      setContentView(mainLayout);
  }
- XML레이아웃에서 정의 가능한 속성은 대부분 자바 소스 코드에서도 메소드 통해 사용 가능
mainLayout.setOrientation(LinearLayout.VERTICAL);- Context 객체
- 안드로이드 뷰에 대한 정보를 쉽게 확인, 설정 가능하도록 뷰 생성자에 Context 객체 전달
- extends AppCompatActivity
- Context 상속하므로 클래스 내에서 this를 Context 객체로 사용 가능
- Context 상속받지 않은 경우의 전달
- getApplicationContext() 메소드 호출하여 참조 가능한 Context 객체 사용 가능
- LayoutParams 객체
- 뷰 배치 위한 속성 설정 가능한 객체, 레이아웃 관련 속성 담고 있음
- 객체 생성 시 뷰의 가로/세로 속성 필수 지정 필요
- LayoutParams.MATCH_PARENT, LayoutParams.WRAP_CONTENT, 숫자로 설정 가능
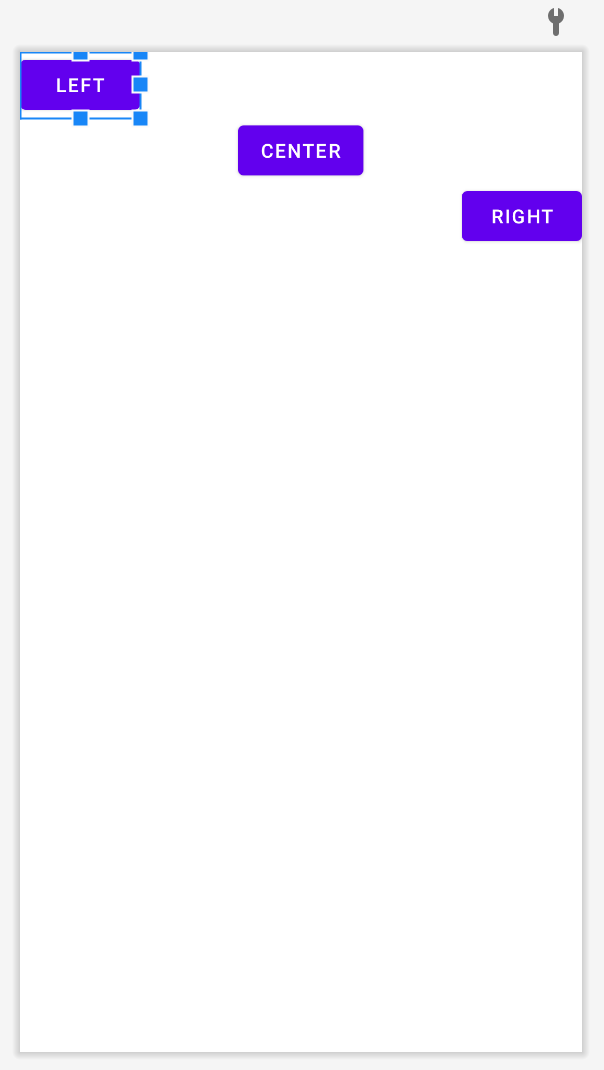
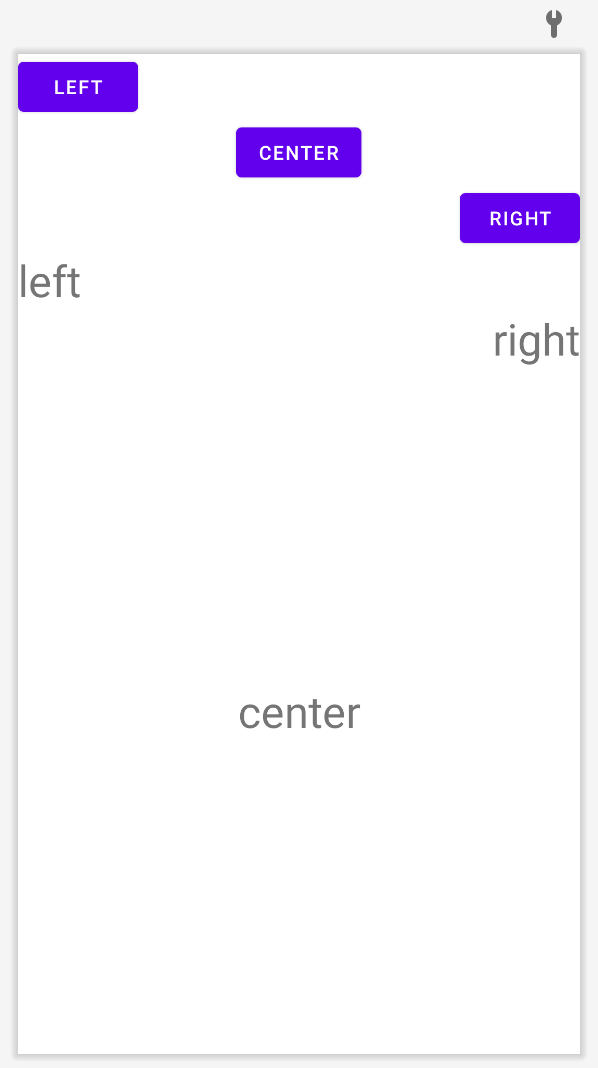
뷰 정렬하기
- 레이아웃에서 사용하는 정렬 속성
- layout_gravity
- gravity
- baselineAligned
- true인 경우 바닥면에 맞춰짐, false인 경우 상위 면에 맞춰짐